 Note:
Note:
Manage360 lets you create customized views to filter items on list pages based on your specific needs. This will make it easier for you to show a selection of items with one click.
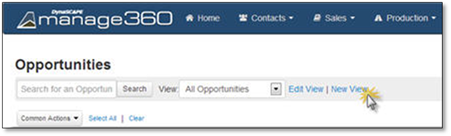
To create a customized view, go to an Area which displays a list, for example the Opportunities Area.
Click on New View to open the Add List View window to create a new custom view.
Note:
The conditions will be relevant to the area you are in when creating or editing a View.
1. Type in a View Name which describes the view you are creating.
2. Select whether the filter will have to Contain All the conditions or can Contain Any of the conditions.
3. Select the first filter option from the Drop-down list, for this example we choose Sales Person.
4. Choose a condition, if it is an option and it could be "Is Equal To", "Is Greater Than", "Is Less Than" or "Contains the Text".
5. Select the second part of the filter.
6. Click Save View to save this new view or Cancel to discard your view.

7. To Add and
Remove
conditions for the List Views use
the  and
and  symbols.
8. Click on Save View to keep the view.

The newly created Custom View will be available in the View drop down list on the Opportunities area in this case.