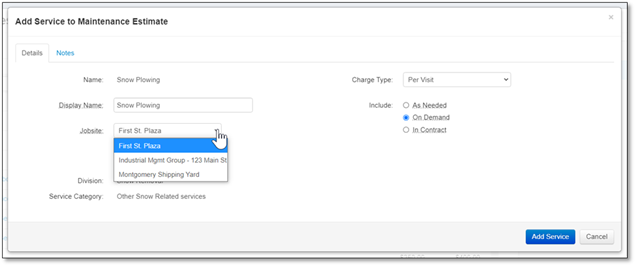
Jobsites in maintenance are defined at the service level. When adding a service to a maintenance estimate, you can select the jobsite using a dropdown list that appears right below the service Display Name. You can change the jobsite of a service after adding it to the estimate by clicking on the edit button that appears next to the service name when you hover over it with your mouse cursor, or by expanding the service and selecting a new jobsite from the dropdown list in the bottom left corner. Note that if your account does not have more than one jobsite, then this drop-down list will not appear.

If your estimate contains more than one jobsite, then the jobsite name will automatically be appended to the name of each service. If the estimate contains only a single jobsite, the name will not appear.

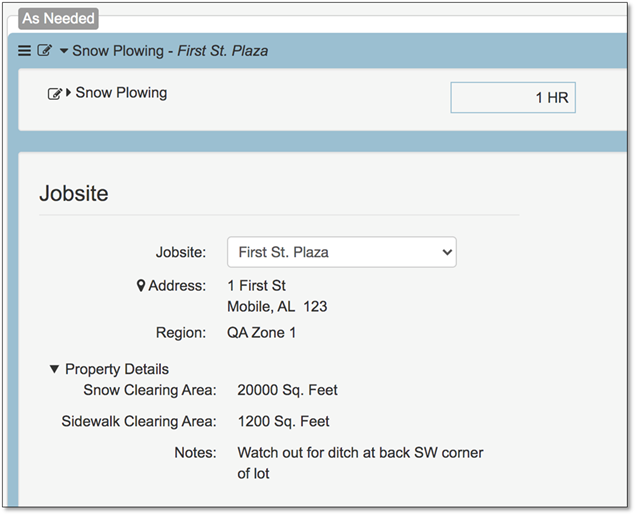
If your estimate contains more than one jobsite, then the property info of that jobsite will appear in the expanded view of your services. This allows you to quickly review variables like plot size and snow clearing area and use them to adjust the quantities of kits and items contained within the service. You can also change the jobsite of a service by selecting a new jobsite from the drop down list and saving. Note that this section does not appear if your estimate contains only a single jobsite.

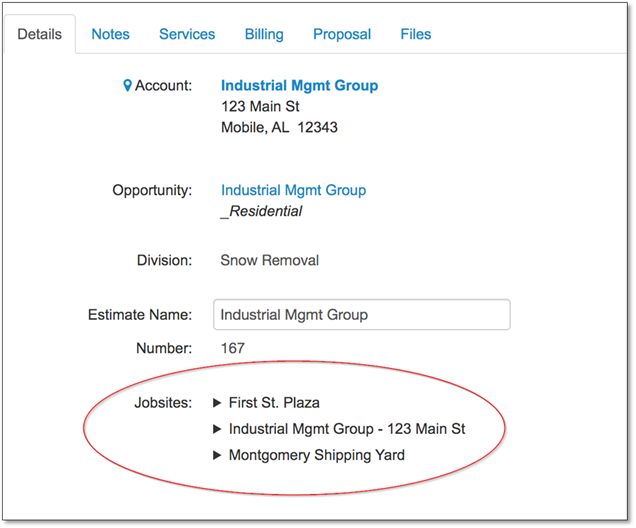
You can find a summary of all jobsites contained on that estimate on the details tab. Clicking on the name of a jobsite will expand it and display the address and property notes of that jobsite.

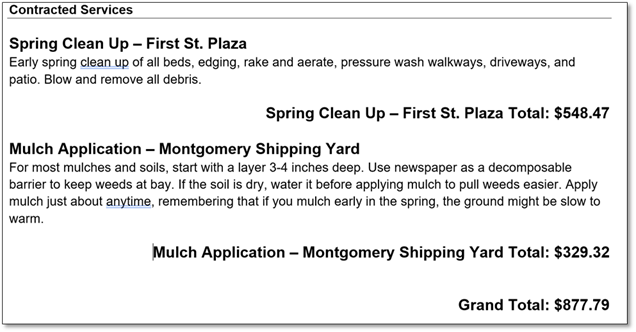
Jobsites can also be displayed on the maintenance proposal. To show jobsites on the proposal, ensure that the option “Show Jobsites” is checked on in the proposal template. You can find the option to show jobsites under the Details > Services section of the proposal template.
